
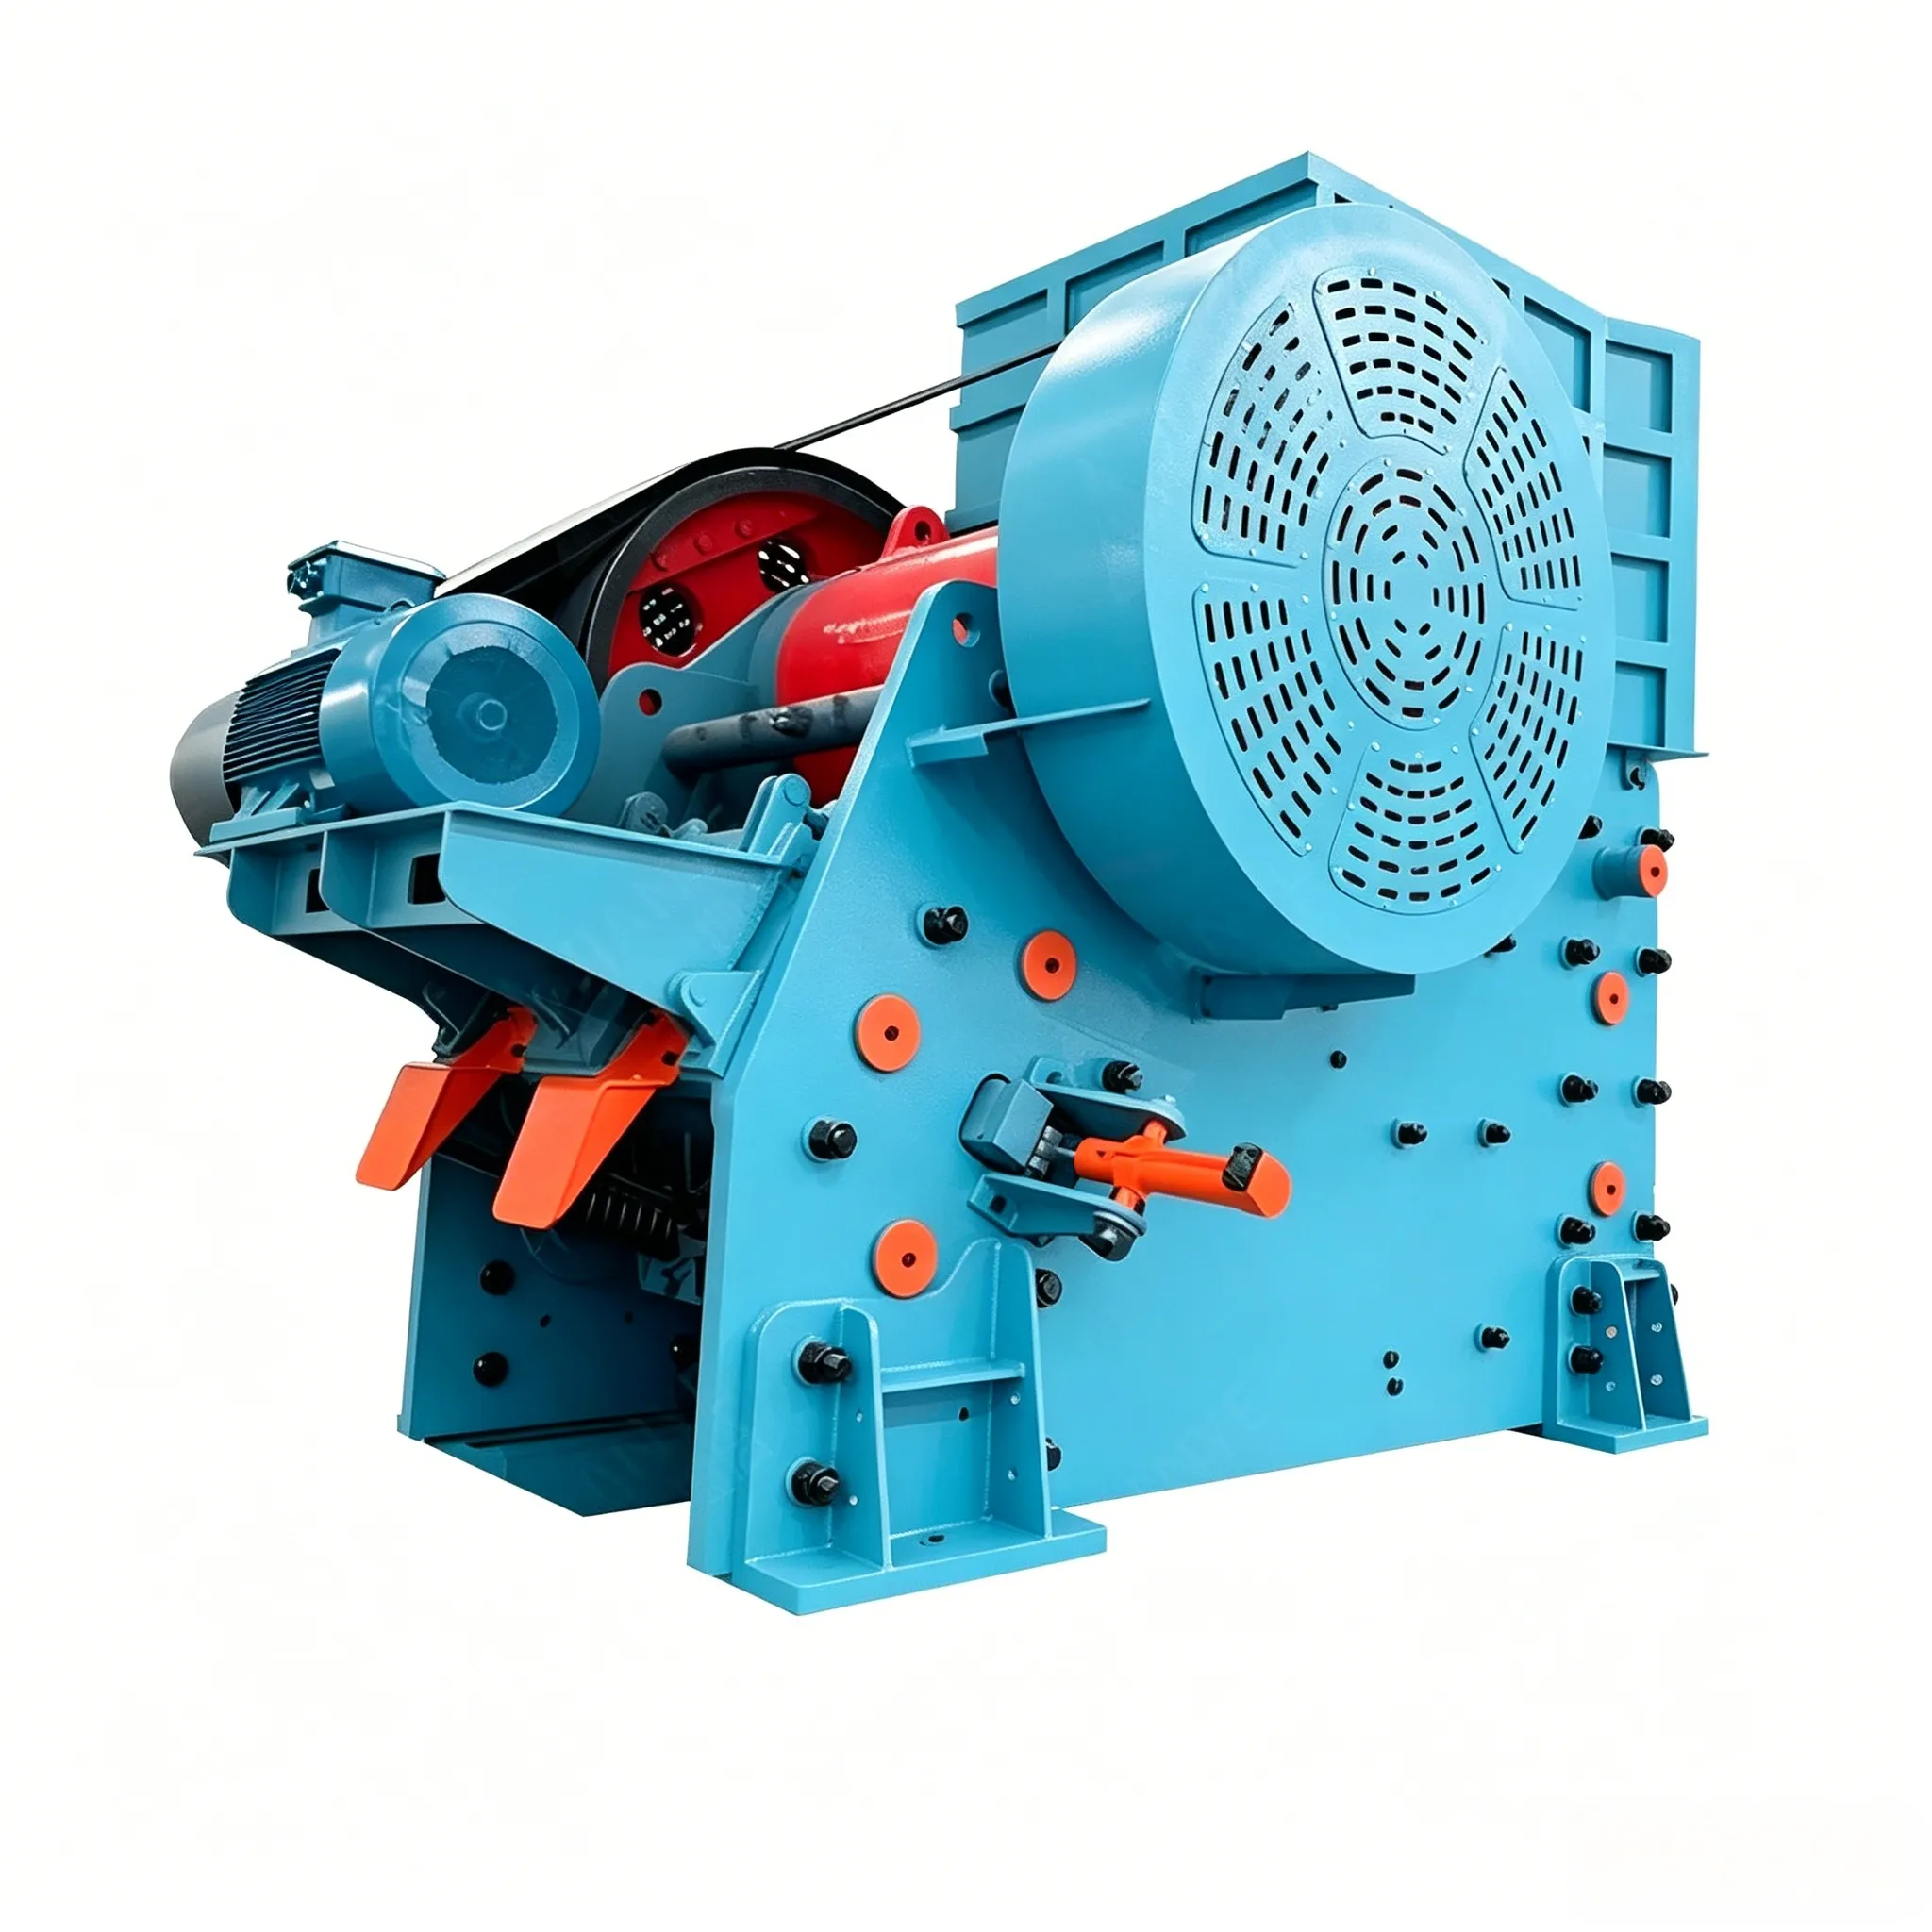
Мини мобильная каменная дробилка
Введение Мини-мобильная щековая дробилка - это очень компактная, установленная на гусеничном ходу дробильная...
The installation procedure for jaw crushers of all specifications is essentially the same, with differences only depending on the weight and structural form of individual components.
Jaw crushers are generally installed on concrete foundations. To reduce vibration and noise, it is advisable to place hardwood pads, rubber strips, or other damping materials between the crusher and the concrete foundation. Large crushers should be installed on steel beams embedded in the foundation, with elastic pads placed between the frame and the steel beams.
The crusher foundation must be isolated from the plant floor foundation to prevent harmful vibrations generated by the crusher from being transmitted to the plant. The height, depth, and area of the foundation shall be calculated individually for each crusher specification based on soil conditions.
When designing the foundation, consideration should be given to the installation of the conveyor belt for receiving crushed product, the space required for replacing the toggle plate and repairing the adjustment device, as well as providing access openings for installing foundation bolts. The crushed product must be discharged through the longitudinal discharge chute beneath the crusher, and discharge from the side of the foundation is not permitted. A layer of metal plate shall be laid on the discharge chute of the foundation. The tunnel in the foundation shall have sufficient height to allow the crushed product to be transported out without obstruction.
For lifting heavy parts of the crusher, movable lifting equipment (such as an overhead crane, etc.) shall be provided in the crusher building. The lifting equipment must be selected according to the weight of the heaviest components of the crusher.
2.6.1.1 Installation of the Frame
Before installation, the assembled frame must be carefully inspected to ensure all mating surfaces are correct. The lower frame is adjusted on the foundation using steel wedges. The dowel pins at the joint surface between the upper and lower frames shall be installed when the upper frame is mounted. Leveling and vertical alignment of the frame shall be carried out using the bearings as reference surfaces. The permissible deviations for transverse and longitudinal levelness of the frame shall comply with the requirements specified in Table 2-7.
For contact at mating surfaces, when bolts are not tightened, local gaps shall not exceed 0.1 mm. The length of each gap segment shall not exceed 150 mm, and the total cumulative gap length shall not exceed 10% of the total perimeter of the mating surface.
If the frame wall is of a removable type, care must be taken to ensure that the side plates of the crusher are parallel to each other, and that the front wall plate is perpendicular to the side wall plates to form a rectangle. To ensure a tight connection of the removable wall plates, the tension bolts shall be preheated to 400°C before installation.
After installing and aligning the frame, tighten the foundation bolts and perform secondary grouting in the gaps between the frame and the foundation. The grout shall have good fluidity so that it reaches all corners, forming a complete and solid grout layer.
Once the grout layer has set and the foundation nuts have been retightened, installation of other components of the crusher may continue.
For the assembled frame, the fixed jaw plate shall be installed first. A layer of zinc alloy shall be cast between the front wall and the fixed jaw plate, and between the rear wall and the rear support seat. During casting, all gaps shall be plugged with asbestos or clay mixed with asbestos to prevent leakage of molten metal. Bolts for the fixed jaw plate and the rear support seat shall be tightened after the zinc alloy has cooled.
2.6.1.2 Installation of the Swing Jaw and Shaft
When placing the assembled swing jaw (complete with shaft and liner plates) into the frame, the journals of the shaft shall enter the bearing shells. A specified clearance shall be left between the bearing shell and the thrust shoulder end face of the swing jaw shaft.
Additionally, care shall be taken to ensure that all sliding surfaces are properly lubricated. Thereafter, the upper bearing shell shall be placed in position and the bearing cap tightened with bolts.
During installation, care shall also be taken to ensure that the fixed jaw plate and the movable jaw plate are positioned such that the crests of one align with the troughs of the other (i.e., the crushing faces are in a staggered arrangement).
2.6.1.3 Installation of the Connecting Rod and Eccentric Shaft
Before installing the connecting rod, the fit between the connecting rod bearing shell and the corresponding journal of the eccentric shaft shall be checked. At the same time, the fit of the main bearing with the frame shall also be checked. The fit between the eccentric shaft and the main bearing shall comply with the requirements in Table 2-7.
For installation of the connecting rod, if possible, it is preferable to pre-assemble the connecting rod and eccentric shaft parts. The pre-assembled connecting rod and eccentric shaft shall then be installed onto the main bearings, after which the upper bearing shell is installed and the bearing cap tightened with nuts.
If pre-assembly of the connecting rod with the eccentric shaft is not possible, first place the connecting rod body (excluding the connecting rod head) onto a pre-prepared support inside the frame, and pad it securely to prevent it from tipping over. Then install the eccentric shaft into the main bearings. Next, install the upper bearing shell, the main bearing cap, and oil collectors, etc. The connecting rod bearing shall fit properly with the eccentric shaft journal, and the bearing cap shall be tightened with bolts. When tightening the main bearings and connecting rod bearings, it shall be checked whether the shaft rotates freely within the bearings.
2.6.1.4 Installation of the Toggle Plate and Pull Rod
First install the front toggle plate, while using a crane to pull the connecting rod toward the front wall of the frame. Then install the rear toggle plate. After the toggle plate is installed, the crane shall still hold the assembly until the tension spring and pull rod are installed, after which the crane may be removed.
Whether the toggle plate fits correctly with the toggle seats shall be carefully checked using “red lead paste” (engineer’s blue or marking compound). Generally speaking, the contact length between the toggle plate and the toggle seat shall not be less than 60% of the total length, and the length of any local gap shall not exceed 10% of the total length.
The compressed length of the tension spring shall be adjusted in practice so that its tightness is appropriate.
2.6.1.5 Permissible Installation Deviations and Inspection Methods for Jaw Crusher
The permissible installation deviations and inspection methods for jaw crusher shall comply with the requirements in Table 2-7.
Table 2-7 Permissible Deviations for Jaw Crusher Installation
| item number | project | allowable deviation | unit | Inspection Method | ||
| 1 | Base installation | Longitudinal and transverse centerlines | 3.0 | mm | Measuring inspection | |
| 2 | elevation | ±5.0 | mm | Inspection of level gauge and level ruler | ||
| 3 | Machine base installation | Longitudinal levelness | 0.5/1000 | one | Level meter inspection | |
| 4 | Horizontal levelness | 0.15/1000 | one | Level meter inspection | ||
| 5 | Movable jaw bearing shellAxle diameter fit | contact angle | 100-120 | mm | Measure and check with a ruler | |
| 6 | Number of contact points for 25mm×25mm | ≥1 | a | Visual inspection and tape measurement | ||
| 7 | Top clearance | (0.001-0.0015)d | one | Inspection of aluminum micrometer | ||
| 8 | Main shaft bearing shellAxle diameter fit | contact angle | 100-120 | (°) | Measuring inspection | |
| 9 | Number of contact points for 25mm×25mm | Copper tile | >3 | a | Coloring method inspection | |
| Bearing alloy tile | >2 | a | Visual inspection and tape measurement | |||
| 10 | Calculate the top clearance based on the shaft diameter d | (0.001~0.0015)d | one | Check with aluminum micrometer | ||
| Gap on each side | 0.5 to 1.0 times the top clearance | two | Insertion inspection with feeler gauge | |||


