
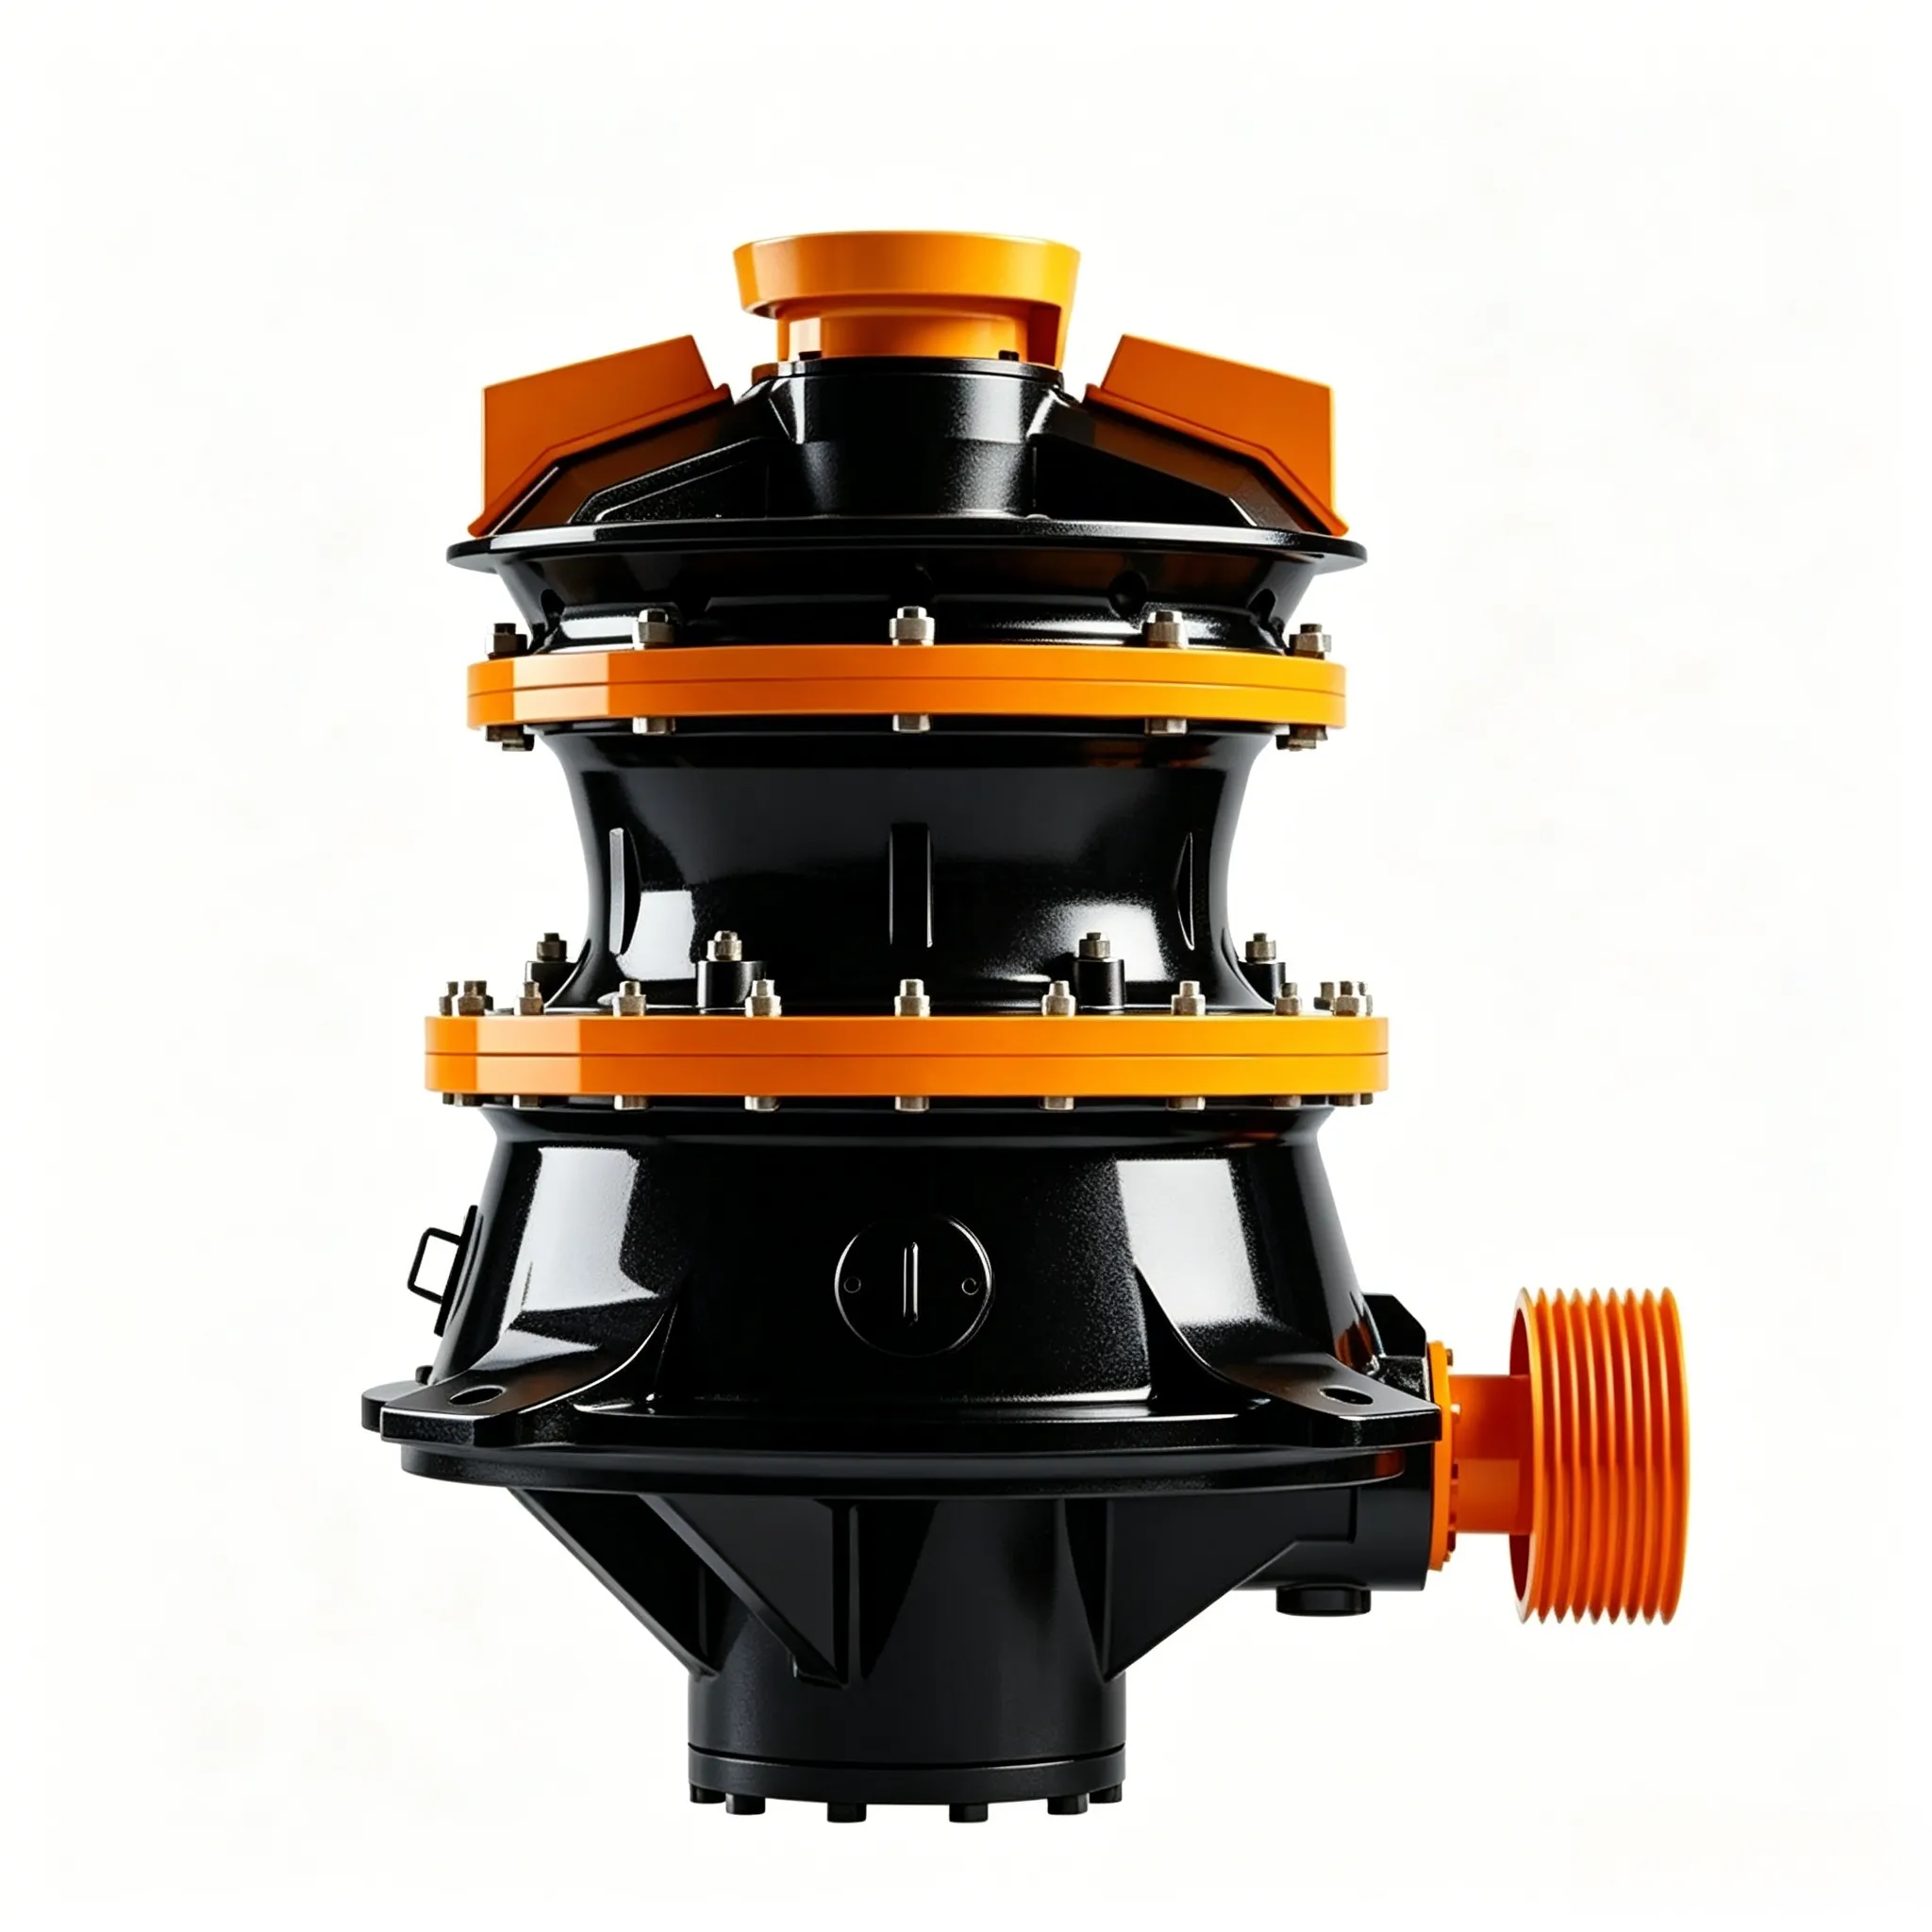
XJZ flotation machine
XJZ flotation machine There are thousands of old‑type XJ flotation machines in…
4.9.1 Maintenance Contents
The maintenance cycle of a cone crusher is related to factors such as the quality of operation and maintenance, repair quality, wear parts quality, and production conditions. The maintenance cycle can be determined in two ways: one is calculated based on the tonnage of crushed ore; the other is based on the loaded operating time. The former is more accurate and scientific, while the latter is simpler and easier to calculate the period. Whichever method is adopted, it should be established according to local conditions. Maintenance is divided into minor repair, intermediate repair, and major repair.
Minor repair is carried out every half month to one month, and includes the following:
(1) Inspect the bowl shell;
(2) Inspect the wear of the tapered bushing and straight bushing and check their clearances;
(3) Inspect the meshing clearance of the bevel gears;
(4) Inspect the clearance of the drive shaft bearing;
(5) Inspect the hydraulic device and lubrication device, or replace the lubricating oil;
(6) Clean the main components.
Intermediate repair is carried out approximately every 4 to 6 months, and mainly includes:
(1) Replace liners;
(2) Repair or replace the eccentric bushing, tapered bushing, and straight bushing;
(3) Repair or replace the bowl shell and dust seal device;
(4) Repair or replace the bevel gears, drive shaft, and bearings;
(5) Repair the threads of the adjustment ring and support sleeve;
(6) Fully inspect and address all items in the minor repair;
(7) Disassemble the motor, blow out dust and dirt, and inspect all bearing clearances; disassemble the oil switch, clean and correct defects; perform electrical adjustments and tests for each component; inspect and repair the distribution panel and other cables, etc.
Major repair is carried out approximately every four years or as determined by circumstances, and includes:
(1) Repair or replace the frame and related foundation parts;
(2) Fully inspect and address all items in the intermediate repair, and carry out technical modifications;
(3) Replace the stator coil of the motor (as determined by preventive tests) and perform varnishing; replace the rotor shaft (as determined by actual conditions).
When the equipment is periodically disassembled for inspection or during major, intermediate, or minor repairs, detailed records shall be made of the inspected, repaired, and replaced parts, so as to understand the situation, summarize patterns, prepare spare parts, and plan for scheduled maintenance.
4.9.2 Maintenance Methods
4.9.2.1 Maintenance of the Drive Shaft Assembly
Maintenance methods are as follows:
(1) If the drive shaft is bent, the keyway is damaged (key rolling), or the clearance with the bearing exceeds the specified range, it shall be repaired or replaced.
(2) When the tooth thickness of the small bevel gear is worn by more than 20%, it shall be replaced.
When removing the drive shaft support, use the预留 threaded holes on the support flange and the frame flange, and push it out with jacking screws. During installation, use the original old gaskets that were removed or new gaskets of the same thickness to maintain the original position.
4.9.2.2 Maintenance of the Eccentric Bushing Assembly
The main parts of the eccentric bushing assembly shall be repaired or replaced when they reach the following conditions:
(1) If the outer diameter of the eccentric bushing is worn by more than 3 mm, it shall be replaced.
(2) If the clearance between the straight bushing and the eccentric bushing exceeds twice the original assembly clearance (see Table 4-10), or if the straight bushing has a crack exceeding 1/3 of its circumference or height, the straight bushing shall be replaced (whichever condition occurs first).
(3) If the clearance between the tapered bushing and the upper part of the main shaft exceeds twice the original assembly clearance (see Table 4-10), or if there is a severe crack, the tapered bushing shall be replaced.
(4) When the tooth thickness of the large bevel gear is worn by more than 20%, it shall be replaced.
(5) If the thrust bearing washer at the lower end of the eccentric bushing has a non-parallel wear deviation exceeding 0.1 mm or a thickness wear of more than 5 mm, it shall be replaced.
The fixing of the straight bushing to the frame and the tapered bushing to the eccentric bushing is done by casting zinc alloy. During casting, deformation shall be prevented, and inspection shall be carried out after casting.
For removal and assembly of the eccentric bushing and the lower thrust bearing washer: a groove of 25 mm width and 4–5 mm depth may be pre-cut inside the straight bushing, and a crescent-shaped lifting plate used to engage and lift it out (see Figure 4-23).
The fit dimensions of newly replaced parts shall be determined according to the dimensions after wear. The fit tolerances and clearances shall maintain the original design requirements.

Figure 4-23 Removal of the straight bushing
Maintenance of the Bowl Bearing Assembly
The maintenance contents are as follows:
(1) Check the fixing condition of the bowl shell. The bowl shell is fixed to the bearing housing by cylindrical pins and cast zinc. If it becomes loose, recast the zinc alloy. Otherwise, when lifting the moving cone, the bowl shell may stick to the spherical surface of the moving cone by the lubricating oil and be lifted together, causing an accident.
(2) Check the contact condition of the bowl shell. The contact surface of the bowl shell shall be on the outer ring, with a contact ring width of 100–160 mm. If the contact is too large, rescrape the surface.
(3) Check the wear condition of the bowl shell. Replace the bowl shell when the wearing surface reaches the bottom of the oil groove (the oil groove is worn flat), or when the fixing pins are exposed, or when cracks appear.
(4) The fit between the bowl bearing housing and the frame shall be tight. If a clearance develops due to wear, the bearing housing may shift during operation, causing poor contact between the main shaft and the tapered bushing, and even impact between them. In severe cases, the straight bushing and the frame may be impacted, possibly damaging the straight bushing. Once such a clearance exists, dust seal water may also splash into the machine body and damage the lubrication. If the clearance exceeds 2 mm, it shall be repaired or replaced. Replacement parts shall be sized according to the worn dimensions.
The method to eliminate this clearance is to weld and machine to restore the original fit.
(5) If the dust seal ring on the bowl bearing housing is damaged, it shall be replaced promptly to prevent dust from entering the water seal groove and settling to block the water holes. Mineral powder deposited in the water seal groove shall also be cleaned out during maintenance.
4.9.2.4 Maintenance of the Moving Cone Assembly
The moving cone is lifted out of the machine body using the lifting ring at its upper end and placed on a prefabricated support for maintenance. The main components, i.e., the main shaft and the head (body), shall be repaired or replaced under the following conditions:
(1) If the main shaft is worn by more than 3 mm at the contact point with the tapered bushing, or if cracks appear, the main shaft shall be replaced.
(2) If the lower oil baffle ring part of the moving cone body is worn beyond half of the ring height H (see Figure 4-18), a steel plate shall be welded on as a repair.
(3) If the spherical surface of the head is worn by more than 4 mm, or if the contact surface between the lower part of the head’s conical surface and the liner is worn by more than 4 mm, the head shall be replaced.
When replacing and assembling the main shaft or the head, the dimensions and tolerances of the shaft and bore shall be determined based on actual measurements to ensure a tight fit. The fit used here is D/je, i.e., an interference of D/800 to D/1000 mm (D is the bore diameter). Within this interference range, heating the head to about 200°C allows smooth assembly.
When heating the head, do so slowly while measuring the temperature and bore expansion. When the bore expansion reaches approximately twice the interference, insert the shaft. Do not attempt to increase the assembly interference to improve the fastness between the shaft and the head, because a larger interference increases the additional stress on the shaft and causes severe stress concentration at the transition between the assembled and non‑assembled zones, which may lead to shaft breakage. Therefore, during maintenance, carefully measure the accuracy of the mating part dimensions and the correctness of the hot assembly operation.
4.9.2.5 Maintenance of the Support Ring, Adjustment Sleeve, and Hydraulic Cylinders
The maintenance contents are as follows:
(1) After removing the support ring, check the tapered contact surface with the frame. If wear is observed, it indicates that the support ring jumped frequently during operation; the cause shall be identified and eliminated. If the wear on this tapered surface exceeds 5–10 mm, repair it.
(2) If the threads on the support ring and the adjustment sleeve are worn by more than 30%–35%, they shall be replaced.
(3) During operation before maintenance, check the leakage condition of the locking cylinders and thrust cylinders on the support ring and mark the leaks. During maintenance, replace their seals.
4.9.2.6 Liner Replacement
When the thickness wear of the moving cone liner and the fixed cone liner reaches 65%–80%, or when local wear, indentation, deformation, or cracking occurs, the liners shall be replaced. If the zinc alloy fixing the liners is crushed or becomes loose before reaching the replacement stage, it shall be recast. After the liners are installed, check whether their centers are correct. If the centers are misaligned, collision may occur during operation, resulting in uneven product size and even heating of friction parts inside the machine. Before casting the zinc alloy, seal all gaps tightly with clay or asbestos to prevent zinc alloy from leaking out. The surfaces in contact with the alloy must not be wet, otherwise an explosion may occur. Therefore, preheat and dry the surfaces before casting, or to shorten the time (without preheating), apply a layer of machine oil to the contact surfaces. Then cast the zinc alloy using a special tool (see Figure 4-24a). After casting, tighten the liner bolts.

Figure 4-24 Liner fixing
a—Fixed cone liner; b—Moving cone liner
1—Zinc alloy; 2—Fixed cone liner; 3—Clay or asbestos; 4—Conical head; 5—Zinc pouring tool; 6—Moving cone liner


